How to add auto-zoom to your screen recordings on Mac
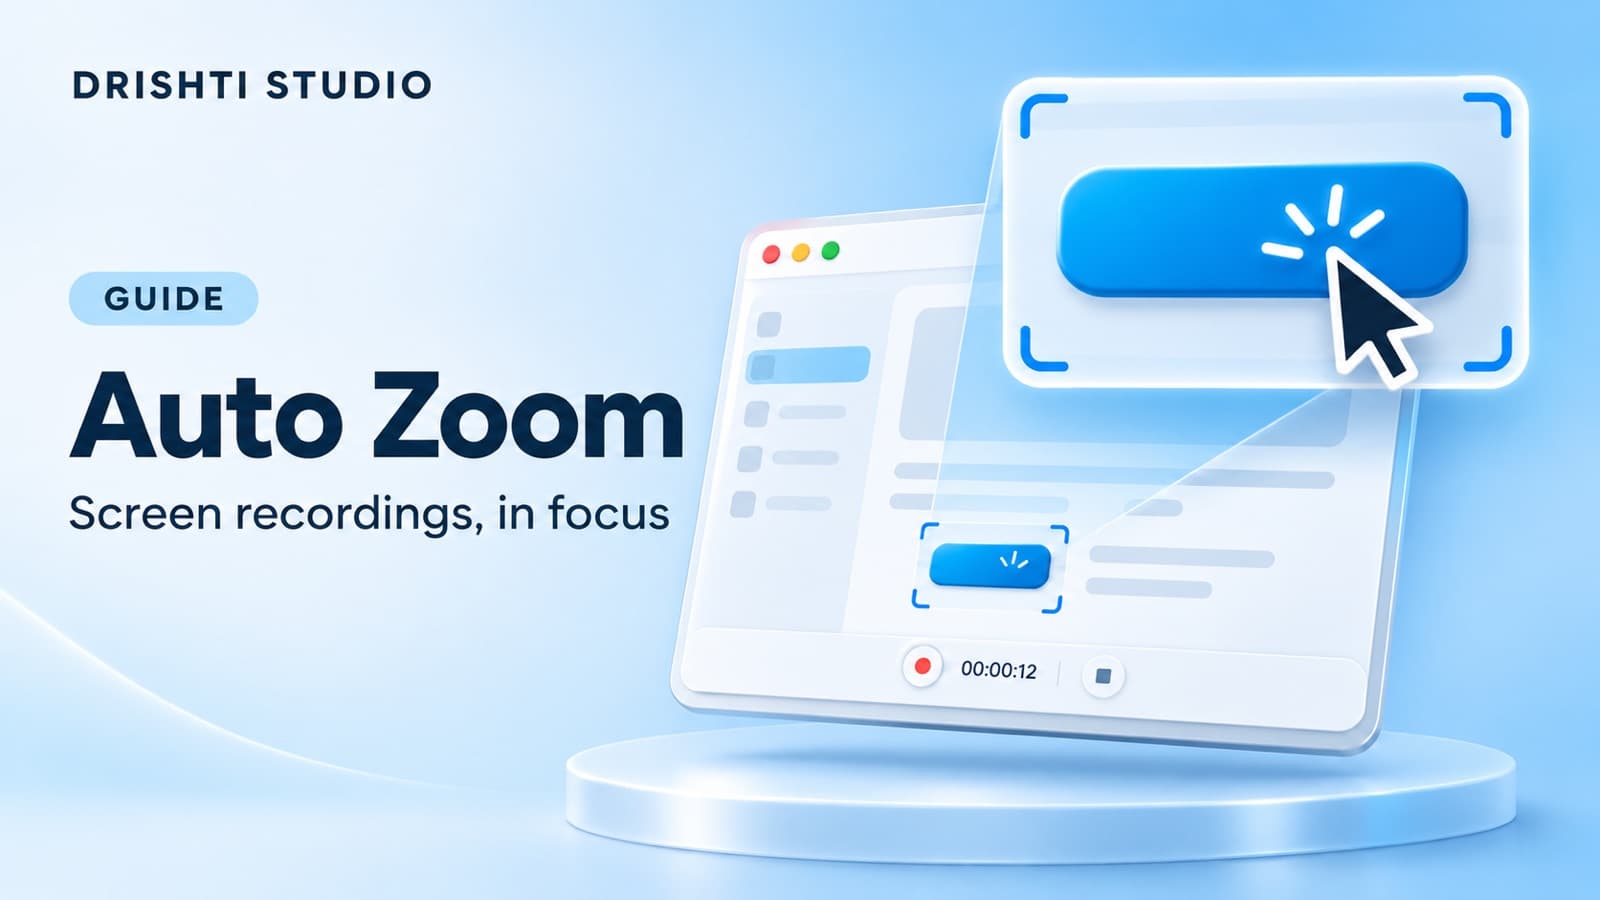
Zooming into a screen recording the manual way is tedious. You scrub the timeline, drop a keyframe, set a scale, drop another to ease back out, then repeat for every click you want to emphasize. Drishti Studio takes that work off your plate. As you record, it tracks where you click and what you do. When a new recording first opens in the editor, Auto Zoom generates the zoom keyframes automatically from your clicks and typing. The keyframes are real, and you can fine-tune any of them, but you never place or time a single one by hand. This guide shows how it works and how to get the most out of it.
What auto-zoom actually does
Auto-zoom is the part of editing that usually eats the most time. The idea is simple: when something matters on screen, the frame should move closer so viewers can see it. The hard part has always been doing it by hand. Drishti handles it for you. It tracks where you click and what you do during the recording, then builds the zoom around those moments so the important detail fills the frame.
Smart pan is the companion to that. Once the frame is zoomed in, it follows your cursor with cinematic easing instead of snapping around, so it reads like a person was operating a camera. Together, auto-zoom and smart pan turn a flat capture into something that looks edited.
How to add auto-zoom, step by step
There is very little to configure. You record, review the automatic zooms in the editor, and export with a paid plan. Here is the full path:
- Install Drishti Studio for free. Recording and editing are free; video exporting requires a paid plan. It is a native macOS app and runs on Apple Silicon and Intel, macOS 15 or later.
- Record your screen with your microphone and Mac system audio together in Drishti. Click through your app, demo, or walkthrough at a natural pace. Drishti tracks where you click and the actions you take.
- Open the new recording in the editor. Auto Zoom runs automatically the first time, generating editable zoom keyframes from your clicks and typing. There is nothing to press.
- Play it back. The frame pushes in on your clicks and smart pan follows the cursor with smooth easing. Fine-tune any keyframe if you want, though most takes need no edits.
- Trim or cut to tighten the clip. Mark your in and out points and remove the dead spots without leaving the app.
- Export when you are happy. Choose H.264, HEVC, or ProRes 422, up to 4K at 60fps, or convert to a 9:16 vertical cut in one click for Reels, TikTok, or Shorts.
It locks onto your focus, not every click
Clicking through layers and dense menus could make a naive zoom bounce around. Drishti does not chase every click. It works out where your focus actually is and holds the frame there, so a flurry of clicks in one area reads as a single, calm move instead of a jitter.
Tips for clean, professional zooms
Click where you want viewers to look
Auto-zoom keys off your clicks, so your cursor is the director. Click directly on the button, field, or element you are talking about, rather than near it. The frame will push in on exactly that spot. If you tend to move the mouse to a corner while you think, do it between actions instead of right before the click you want highlighted.
Move at a steady, deliberate pace
Smart pan follows your cursor with easing, so smooth, unhurried movement produces smooth, unhurried camera work. Quick flicks across the screen still track cleanly, but a calmer pace reads more cinematic on playback. This matters most in dense interfaces like dashboards, Figma files, or IDEs where there is a lot to take in.
Let it carry long videos
Auto-zoom shines on longer content. A 30 or 40 minute tutorial would be punishing to animate by hand, but Auto Zoom generates the keyframes automatically when the new recording first opens in the editor. Drishti renders locally with Metal GPU acceleration, so even long recordings stay responsive on the timeline and export fast, without the slowdown you hit on heavier, web-based tools.
Pair it with cursor effects
Once the frame is zoomed in on a click, cursor effects make the action even clearer. A spotlight or highlight draws the eye, and animated clicks confirm exactly what was pressed. These stack naturally with auto-zoom because both are reacting to the same thing: where you are pointing.
Adjust zooms and keystrokes from the timeline toolbar
The Auto Zoom menu in the timeline toolbar has Add Zoom at Playhead, Add Auto Zoom, and Delete All Zooms. When zooms already exist, Add Auto Zoom becomes Regenerate Auto Zoom… and asks “Replace all zooms?” before replacing them. Every zoom stays editable as keyframes on the Auto Zoom lane.
The Keystroke menu next to it has Add Keystroke at Playhead, Auto-generate Keystrokes, and Delete All Keystrokes. Keystrokes come from your recorded keyboard shortcuts. When keystrokes already exist, Auto-generate Keystrokes becomes Regenerate Keystrokes… and asks “Replace all keystrokes?” before replacing them.
When you may not want auto-zoom
Auto-zoom is the right default for most recordings, but not for every shot. Reach for a flat, full-screen view when:
- You are showing a layout or comparison where the viewer needs the whole screen at once
- The content is already full-frame, like a slide deck or a video playing back, with no small detail to push into
- You want a raw, unedited capture to hand to another editor
Because the zooms are generated keyframes, you stay in control. Choose Delete All Zooms from the Auto Zoom menu for a flat take, or adjust the keyframes on the Auto Zoom lane when you want a different emphasis. For everyday tutorials, demos, and walkthroughs, letting Auto Zoom do the work is almost always the right call.
Frequently asked questions
Does auto-zoom use keyframes?
Yes, but you do not place them by hand. Drishti tracks your clicks and typing while you record, and Auto Zoom generates editable keyframes on the Auto Zoom lane when the new recording first opens in the editor. The keyframes are real and you can fine-tune any of them, you just skip the manual work of creating them.
How does auto-zoom know where to zoom?
It reads your clicks and actions during the recording. When you click something, Drishti treats that as a spot worth emphasizing and builds the zoom in on that area. Smart pan then follows your cursor, so the frame tracks whatever you point at.
Do I have to plan or set up the zooms before recording?
No. There is nothing to configure up front. Record normally, and Auto Zoom generates zooms from your clicks and typing when the new recording first opens in the editor. You can adjust the result afterward, but most takes are ready as is.
Does auto-zoom work on long recordings without slowing down?
Yes. Drishti is a native macOS app that renders locally with Metal GPU acceleration, so long recordings stay responsive and export fast. That makes auto-zoom practical for longform content like 15 to 60 minute tutorials.
What can I export an auto-zoomed recording as?
You can export in H.264, HEVC, or ProRes 422, up to 4K at 60fps. You can also convert any recording to a 9:16 vertical layout in one click for Reels, TikTok, and Shorts.
Keep reading
Try it on your next recording
Free to record and edit. Pay only when you export. $9/month, $59/year, or $99 one-time for Lifetime.