How to make a product demo video on Mac
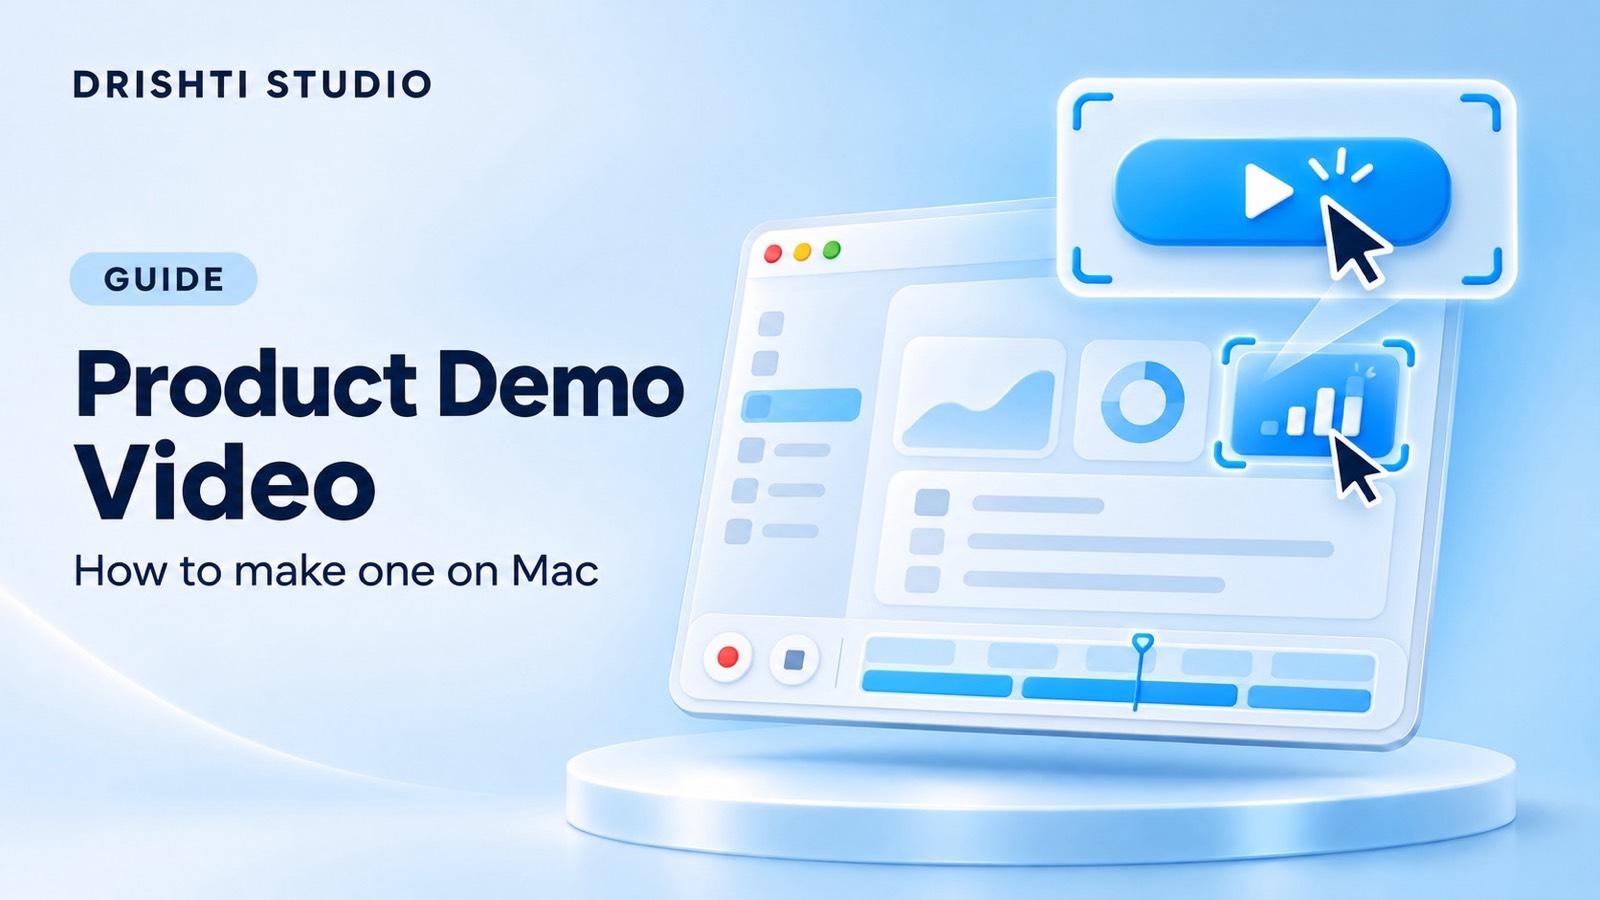
You finish a software demo, then discover you need three more versions of it. The landing page needs silence, sales needs the explanation, and social needs a tall frame. I’m Vijayraj, and I build Drishti Studio. Here’s how I’d use it to make a product demo video on Mac and reuse the take, whether you’re a founder, product marketer, PM, or working in sales or customer success.
You record the same demo four times
The feature hasn’t changed between the sales walkthrough and the landing page loop. The framing, sound, and amount of footage have. Drishti lets you change those after recording, so I’d capture the complete workflow with any narration and camera feed I might need, then make the shorter versions from it.
| Demo format | Where I’d use it | Our recommended length | Aspect I’d choose | Drishti tools I’d use |
|---|---|---|---|---|
| Silent loop | Landing page | 10 to 20 seconds | 16:9 | Trim to one action and its result, mute audio, review Auto Zoom |
| Full walkthrough | Sales follow-up or customer onboarding | 2 to 4 minutes | 16:9 | Cut waits, keep narration, add subtitles and camera cues |
| Feature update | Release announcement or customer email | 30 to 60 seconds | 16:9 or 1:1 | Keep the new action, cut unrelated steps, check subtitle placement |
| Vertical cut | Social post | 15 to 30 seconds | 9:16 | Trim to the useful moment, choose portrait Camera Layout, review zooms |
In New Recording, choose the app on the Windows tab if the task stays in one window, or use a display capture if you need to move between apps. Turn on Microphone for narration, Camera if you might want your face later, and System Audio only if the product’s sound matters. You cannot add a camera feed or audio source that wasn’t recorded. The recording docs explain those choices. Follow our Mac system audio guide to capture your voice and the product’s sound together without extra audio drivers.
Save the full take as a Drishti project and export the walkthrough first. Then make the shorter cuts and export each with a distinct filename. Drishti can mute the recording, but your website player supplies the looping behavior for the landing page version. Check that its last frame returns cleanly to the first.
Loading screens and small mistakes take over the demo
A SaaS demo video can spend more time waiting for a report than showing what the report answers. A stumble adds another temptation: start over, repeat the same clicks, and hope the next take is perfect. I’d keep recording after a small verbal mistake, repeat the sentence, and remove the first attempt in Drishti.
- Drag the trim handles to remove setup at the start and unused footage at the end.
- Press C for Cut mode. Click before and after a wait or mistaken sentence, then press Delete to remove the selected piece.
- Replay the join. Leave enough of the action that the viewer can connect the input to the result.
Deleting a clip closes the gap across every lane, keeping subtitles, zooms, and sound effects with their footage. The editor basics cover Cmd+B for splitting at the playhead and Restore Removed Part for bringing footage back. Use that restoration or Undo when a shorter cut needs a step you already removed.
The UI is sharp, but the viewer cannot read it
A full desktop can look clear on the Mac where you recorded it and become tiny labels inside a page. Raising the export resolution alone won’t make a small button occupy more of that player. The demo needs to move closer to the action.
When a new Drishti recording first opens in the editor, Auto Zoom generates editable keyframes from your recorded clicks and typing automatically. There is no manual keyframing needed for that first pass. Review the Auto Zoom lane, select a keyframe, and adjust Zoom, Center Position, or Duration if the useful detail needs different framing. Smart pan follows the cursor with easing.
If the viewer still loses the pointer between clicks, open the Cursor inspector. Increase Cursor Scale, use Smooth Cursor to reduce small jumps, and enable a Click Effect such as Ripple. Auto-hide Cursor can clear the pointer when it sits idle over a result. I’d check those settings in the smaller output frame before increasing them further.
The desktop distracts from the product
A download folder beside the app and a clock across the top give the viewer more things to inspect. In Drishti, choose a window capture to focus on the app, or turn on Hide desktop icons for a display capture. After recording, Hide Menu Bar in the Layout inspector crops the clock and menus off the top, and a gradient, wallpaper, or custom background can frame the product. Keep padding modest so the interface still has room.
A customer email or API key slips into view
A clean background won’t hide the customer name inside the app. Neither will a smaller player once Auto Zoom moves closer. Drishti’s Mask track lets you cover a specific region for the seconds it appears, while the rest of the workflow stays visible.
At the first frame containing the detail, choose Add blur mask or Add pixelate mask from the mask menu in the timeline toolbar. Move and resize the region in the preview, then drag the mask clip’s edges to cover the full stretch. Set Intensity high enough that the detail cannot be read. Multiple masks can cover separate fields at once.
Blur and Pixelate switch on and off instantly. Masks stay anchored to the source recording when you change aspect ratio or camera layout. Still, replay every covered stretch, including its first and last frames, and check again after scrolling or reframing. A mask covering a field at one moment does not prove the field stays covered throughout the cut.
The explanation is missing, or your face covers the controls
A support walkthrough may need your voice to explain why a setting matters. A silent landing page loop may only need the click and result. Drishti lets you keep the narration for one export and mute it for another using the speaker button on the Video lane. Capture the microphone before recording if you want that choice.
If you recorded a camera feed, Drishti’s camera cues let you change its role after the take. In wide or square output, use Split for an explanation beside the screen, Bubble for a small overlay, Camera Only when you need the full frame, or Screen Only for detailed UI. Set each cue’s duration on the timeline. During a zoom in Split, the screen fills the frame and the camera becomes a bubble, then both return to their columns.
The demo stops making sense with the sound off
Mute your narrated walkthrough. If the screen moves through three settings without explaining the choice, removing its audio hasn’t made a useful silent version. Drishti generates karaoke-style subtitles from speech in nine languages, so the explanation can stay visible when the voice is muted.
Open the Subtitles window with the speech bubble icon, correct product names and technical terms, then choose Apply Changes. Use the Subtitle inspector to adjust position and size so the text doesn’t cover the result. For the short landing page loop, I’d trim to an action that reads clearly on its own and turn subtitles off if they add clutter. For the longer walkthrough, I’d keep them.
The wide demo becomes unreadable in a vertical frame
Squeezing an entire dashboard into a tall canvas can leave the interesting part too small. In Drishti, first trim the recording to the feature you want to show. Choose 9:16 from the aspect menu below the preview, then open Editor > Inspector > Camera > Camera Layout.
With a recorded camera feed, Split puts it above or below the screen with Camera Top or Camera Bottom. Bubble keeps a camera overlay. Presenter removes your camera background and offers Screen Zoom and Screen Focus for the recording behind you. Choose the portrait layout here: Bubble and Split timeline cues do not apply in 9:16. Portrait remembers its own layout separately from wide and square output.
Review the vertical cut’s zooms, cursor size, subtitle placement, and mask coverage before export. For a square feature update, choose 1:1 and check those same details again. Reusing the footage saves another take; every new frame still deserves a review.
Exporting every version becomes another wait
Four useful cuts still mean four exports. Drishti renders locally with Metal, and H.264 and HEVC use your Mac’s hardware video encoder. There is no cloud render queue. Export time still depends on the recording length, resolution, frame rate, codec, and your Mac.
Drishti’s export options include H.264, HEVC, and ProRes 422. Wide 16:9 output goes up to 4K at 60fps; 9:16 exports at 1080×1920 and square at 1080×1080. For the landing page file, compare Web and Web (Low) quality against the estimated size, then check whether the smallest useful text survives the compression.
Export each version to its own filename and play the finished file before publishing. If this demo is for a specific launch or application, use the Product Hunt launch video guide or the YC application video guide for those separate briefs.
The bottom line
I’d use Drishti Studio to make a product demo video on Mac because the fixes stay close to the recording: readable zooms, clear clicks, subtitles, camera cues, masks, and cuts. Capture the sources you need once, export the complete walkthrough, then make the shorter versions from that footage. Spend the final review on what the viewer can read and what should stay private.
Frequently asked questions
How long should a product demo video be?
My starting recommendations are 10 to 20 seconds for a silent landing page loop, 2 to 4 minutes for a full walkthrough, 30 to 60 seconds for a feature update, and 15 to 30 seconds for a vertical cut. These are recommendations, not platform rules. Drishti’s trim and cut tools let you make those versions from the same recording.
What software do I need to make a product demo video on Mac?
Drishti Studio handles recording, editable Auto Zoom, timeline cuts, camera layouts, subtitles, masks, and export. It runs on macOS 15 or later on Apple Silicon and Intel Macs. Recording and editing are free; video export requires a paid plan.
Can I make a product demo video without showing my face?
Drishti can record your screen with Camera off. Turn on Microphone if you want narration, or make a silent cut using readable screen actions. If you already recorded your camera, a Screen Only cue can hide it for the wide walkthrough while the recorded audio continues.
How do I make a vertical product demo video from a wide recording?
In Drishti, trim to the useful stretch, choose 9:16 from the aspect menu below the preview, and review the framing. If you recorded a camera feed, choose Split, Bubble, or Presenter under Camera Layout in the Camera inspector. Bubble and Split timeline cues do not apply in portrait. Export is 1080×1920.
How do I hide customer data in a product demo video?
Use Drishti’s Mask track to add a Blur or Pixelate region over each sensitive field and extend its duration across every frame where that detail appears. Check the intensity, scrolling, zooms, and first and last frames. Review the coverage again after changing aspect ratio or camera layout.
Keep reading
How to make a Product Hunt launch video on Mac
Read
The best way to record your YC application videos on a Mac
Read
How to add auto-zoom to your screen recordings on Mac
Read
How to hide sensitive information in a screen recording on Mac
Read
The best screen recorders for Mac in 2026, picked by the job
ReadTry it on your next recording
Free to record and edit. Pay only when you export. $9/month, $59/year, or $99 one-time for Lifetime.